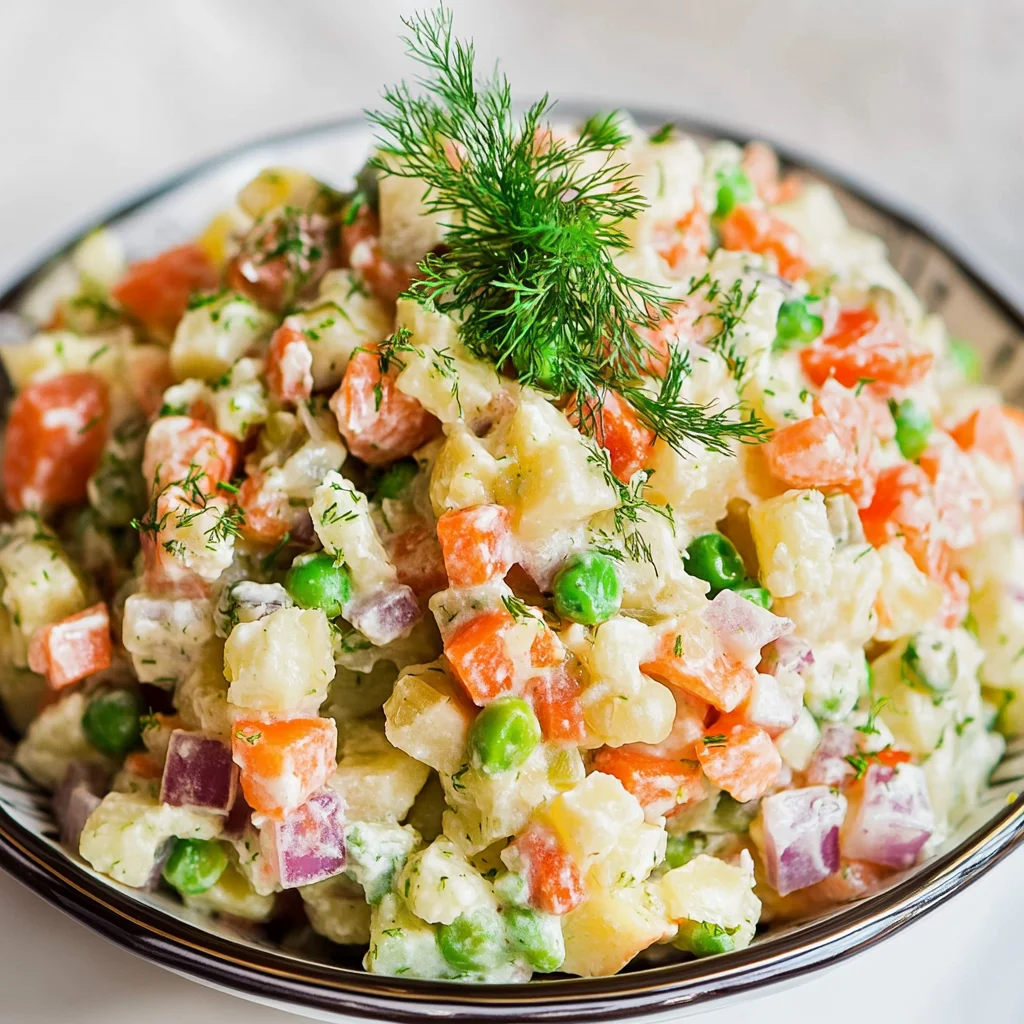
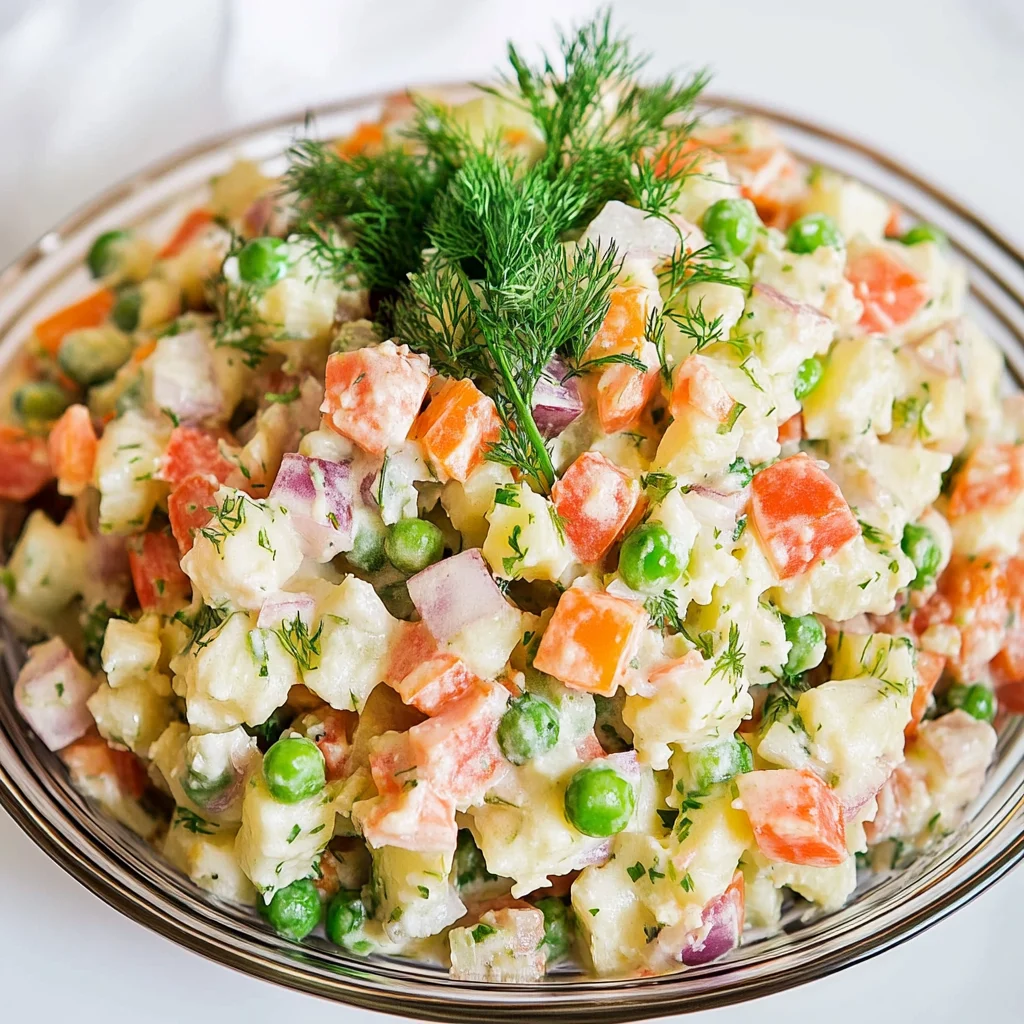
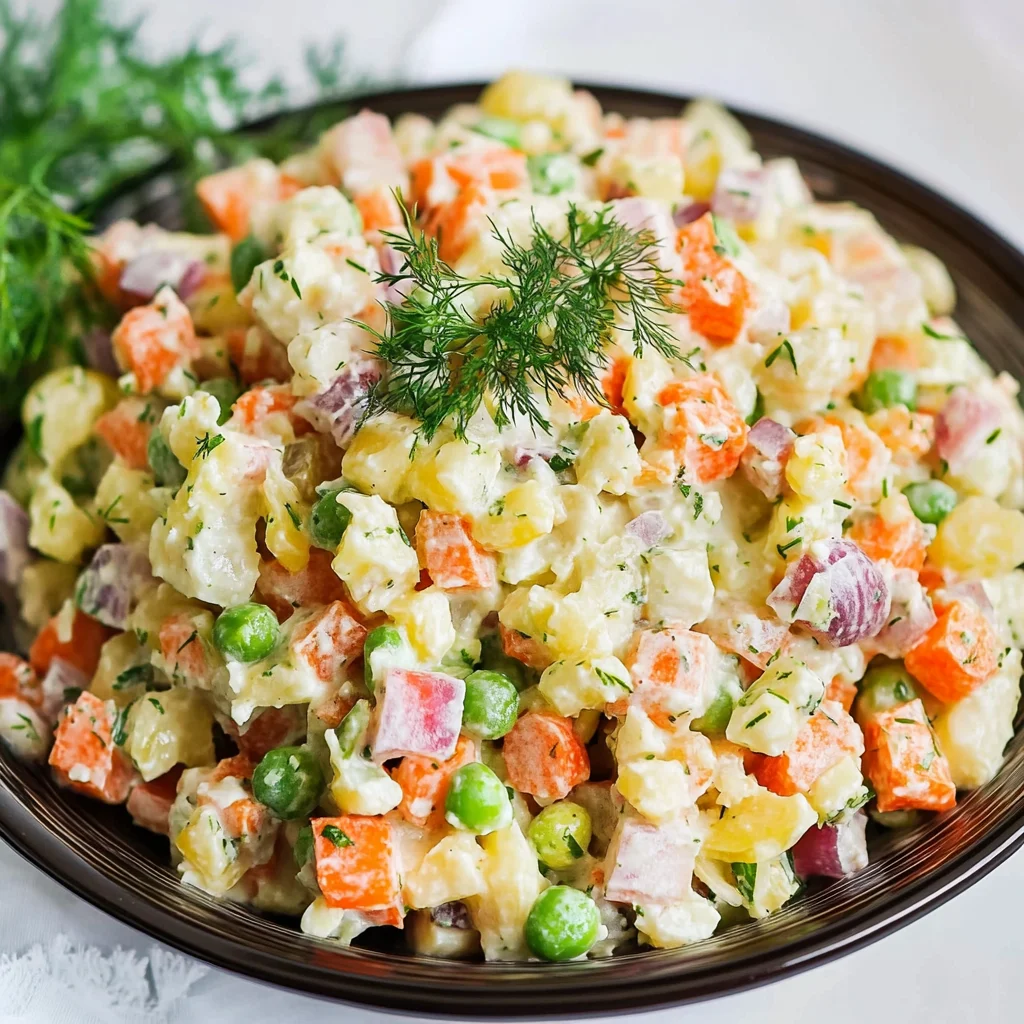
Best Olivye Salad is a delightful dish that combines a variety of flavors and textures, making it perfect for any occasion. Whether you’re hosting a festive gathering or simply looking for a comforting meal, this salad stands out with its hearty ingredients and creamy dressing. Its versatility allows it to be served as a main course or a side dish, ensuring it fits seamlessly into your menu.
Why You’ll Love This Recipe
- Quick Preparation: This salad can be ready in just 50 minutes, making it an easy option for busy days.
- Flavorful Combination: The mix of chicken, vegetables, and mayonnaise creates a deliciously creamy texture that everyone loves.
- Nutrient-Rich: Packed with proteins from chicken and eggs, plus vitamins from the veggies, it’s as healthy as it is tasty.
- Customizable: Feel free to adjust the ingredients to suit your taste preferences or dietary needs.
- Great for Meal Prep: Best Olivye Salad keeps well in the fridge, making it an ideal choice for make-ahead meals.
Tools and Preparation
Before diving into the recipe, gather your tools to ensure a smooth cooking experience.
Essential Tools and Equipment
- Large mixing bowl
- Pot for boiling
- Knife and cutting board
- Measuring cups
- Serving spoon
Importance of Each Tool
- Large mixing bowl: Provides ample space for combining all ingredients without spilling.
- Pot for boiling: Essential for cooking potatoes and carrots evenly.
- Knife and cutting board: Necessary for chopping vegetables and meats accurately.
Ingredients
For the Salad Base
- 1 pound chicken ham
- 3 medium-sized potatoes
- 4 medium-sized carrots
- 15 ounces of peas, drained
- 5 hard-boiled eggs
- 5 pickles (medium to large)
- 1/3 cup chopped green onions
- 1/4 cup chopped dill
For the Dressing
- 3/4 cup mayonnaise (adjust to preference)
- Salt and pepper (season to taste)
For Garnish
- 2 tablespoons fresh parsley, finely chopped
How to Make Best Olivye Salad
Step 1: Prepare the Ingredients
Begin by boiling the potatoes and carrots until tender. This usually takes about 20-30 minutes. Once cooled, peel and dice them into small cubes.
Step 2: Cook the Chicken
While the vegetables are cooking, boil the chicken ham until fully cooked. Allow it to cool before shredding or dicing into bite-sized pieces.
Step 3: Combine All Ingredients
In a large mixing bowl, add the diced potatoes, carrots, peas, shredded chicken, chopped pickles, green onions, dill, and hard-boiled eggs.
Step 4: Add the Dressing
Pour in the mayonnaise and season with salt and pepper according to your taste. Mix everything gently but thoroughly until all ingredients are well coated.
Step 5: Chill Before Serving
Cover the salad with plastic wrap or a lid. Refrigerate for at least one hour to let the flavors meld together before serving.
Enjoy your delicious Best Olivye Salad!
How to Serve Best Olivye Salad
Serving the Best Olivye Salad can elevate any meal, whether it’s a casual lunch or a festive gathering. Here are some delightful ways to present this classic dish.
On a Bed of Lettuce
- Serve the salad on a fresh bed of crisp lettuce leaves for added texture and color.
With Crackers
- Pair the salad with an assortment of crunchy crackers. This adds a nice contrast and makes it easy for guests to enjoy.
In Individual Cups
- For parties, consider serving the Best Olivye Salad in small cups. This makes for an elegant presentation and is perfect for portion control.
As a Sandwich Filling
- Use the salad as a filling between slices of bread or in a wrap. It transforms into a hearty lunch option that’s both tasty and satisfying.
How to Perfect Best Olivye Salad
Creating the perfect Best Olivye Salad involves attention to detail and some handy tips. Follow these suggestions for the best results:
- Choose Quality Ingredients: Fresh, high-quality ingredients make all the difference in flavor.
- Adjust Seasoning: Always taste your salad before serving. Adjust salt and pepper according to your preference.
- Chill Before Serving: Allowing the salad to chill in the fridge enhances its flavors and provides a refreshing experience.
- Mix Gently: To keep ingredients intact, mix gently when combining all components together.
Best Side Dishes for Best Olivye Salad
Complementing your Best Olivye Salad with side dishes can create a well-rounded meal. Here are some excellent options:
- Garlic Bread
A warm, crispy garlic bread pairs beautifully with the creamy textures of the salad. - Baked Potatoes
Simple baked potatoes topped with butter or sour cream provide a satisfying companion. - Vegetable Platter
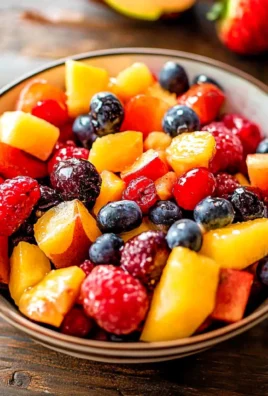
A colorful array of fresh vegetables adds crunch and nutrition to your meal. - Cucumber Salad
A light cucumber salad offers freshness and balances the richness of the Olivye salad. - Stuffed Peppers
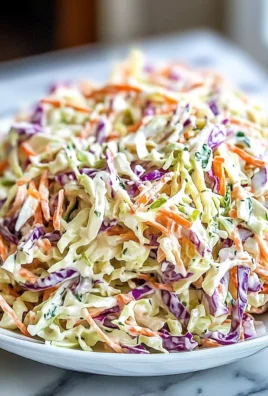
Flavorful stuffed peppers can serve as a hearty side that complements the main dish well. - Coleslaw
Crisp coleslaw brings additional crunch and tanginess, enhancing your meal’s overall flavor profile.
Common Mistakes to Avoid
When making the best Olivye salad, it’s easy to overlook some key details. Here are common mistakes to watch out for:
- Using the wrong chicken: Some people opt for pre-cooked chicken or a different meat. Always use fresh, cooked chicken for the best flavor and texture.
- Overcooking vegetables: Cooking potatoes and carrots too long can make them mushy. Boil them until they are fork-tender but still firm.
- Not seasoning properly: A bland salad is a missed opportunity. Always taste and adjust salt and pepper to enhance the flavors.
- Skipping the chill time: Serving immediately after preparation can lead to a less cohesive flavor. Letting your salad chill allows the ingredients to meld beautifully.
- Ignoring ingredient proportions: Too much mayonnaise can overpower the salad, while too little can leave it dry. Stick to recommended amounts but feel free to adjust based on your taste.
Storage & Reheating Instructions
Refrigerator Storage
- Store in an airtight container for up to 3 days.
- Keep the salad refrigerated at all times to maintain freshness.
Freezing Best Olivye Salad
- It’s not recommended to freeze Olivye salad as the texture changes upon thawing.
- If you must freeze, store it in a freezer-safe container for up to 1 month.
Reheating Best Olivye Salad
- Oven: Preheat to 350°F (175°C) and warm covered for about 10 minutes. This keeps the texture intact.
- Microwave: Heat in short intervals of 30 seconds, stirring in between. Be careful not to overheat.
- Stovetop: Warm gently over low heat, stirring frequently until heated through. This method is best for maintaining consistency.
Frequently Asked Questions
What is the best way to prepare chicken for Best Olivye Salad?
Cooking chicken by boiling or baking is ideal. Ensure it’s fully cooked and shredded into bite-sized pieces for easy mixing.
Can I customize the Best Olivye Salad?
Absolutely! You can add or substitute ingredients like corn, bell peppers, or even different herbs based on your preference.
How long does Best Olivye Salad last in the fridge?
The best Olivye salad lasts about 3 days when stored properly in an airtight container in the refrigerator.
Is there a vegan version of Best Olivye Salad?
Yes! You can replace chicken with chickpeas or tofu and use vegan mayo instead of traditional mayonnaise.
Final Thoughts
The best Olivye salad is not only delicious but also versatile, making it perfect for gatherings or as a comforting meal at home. With countless customization options available, you’re encouraged to try this recipe and make it your own! Enjoy experimenting with flavors that suit your palate!
Best Olivye Salad
Best Olivye Salad is a delightful and versatile dish that combines tender chicken, fresh vegetables, and a creamy dressing, making it an excellent choice for any occasion. Whether you’re hosting a festive gathering or looking for a comforting meal at home, this salad’s hearty ingredients and rich flavors will surely impress your guests. With its quick preparation time and customizable nature, the Best Olivye Salad is not only delicious but also a practical option for busy days or meal prep. Serve it as a main course or as a side dish to elevate your dining experience.
- Prep Time: 20 minutes
- Cook Time: 30 minutes
- Total Time: 50 minutes
- Yield: Serves approximately 6
- Category: Main Course/Side Dish
- Method: Boiling/Mixing
- Cuisine: Eastern European
Ingredients
- 1 pound chicken ham
- 3 medium-sized potatoes
- 4 medium-sized carrots
- 15 ounces of peas, drained
- 5 hard-boiled eggs
- 5 pickles (medium to large)
- 1/3 cup chopped green onions
- 1/4 cup chopped dill
- 3/4 cup mayonnaise
- Salt and pepper to taste
Instructions
- Boil the potatoes and carrots in salted water until tender (20-30 minutes). Allow them to cool before peeling and dicing.
- In a separate pot, boil the chicken ham until fully cooked. Once cooled, shred or dice into bite-sized pieces.
- In a large mixing bowl, combine diced potatoes, carrots, peas, shredded chicken, chopped pickles, green onions, dill, and hard-boiled eggs.
- Add mayonnaise and season with salt and pepper. Mix gently until well combined.
- Cover and refrigerate for at least one hour before serving to allow flavors to meld.
Nutrition
- Serving Size: 1 serving
- Calories: 320
- Sugar: 2g
- Sodium: 540mg
- Fat: 20g
- Saturated Fat: 3g
- Unsaturated Fat: 15g
- Trans Fat: 0g
- Carbohydrates: 22g
- Fiber: 4g
- Protein: 12g
- Cholesterol: 180mg
Leave a Comment