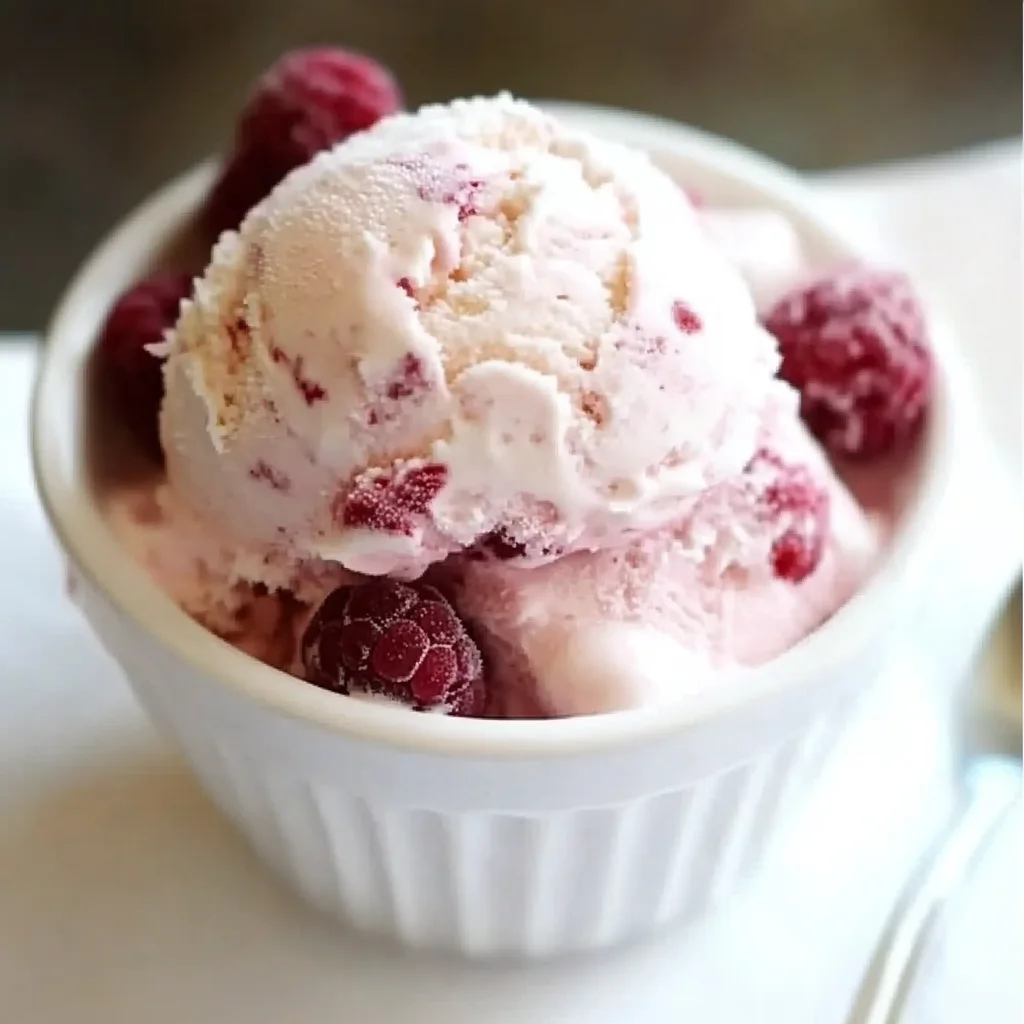
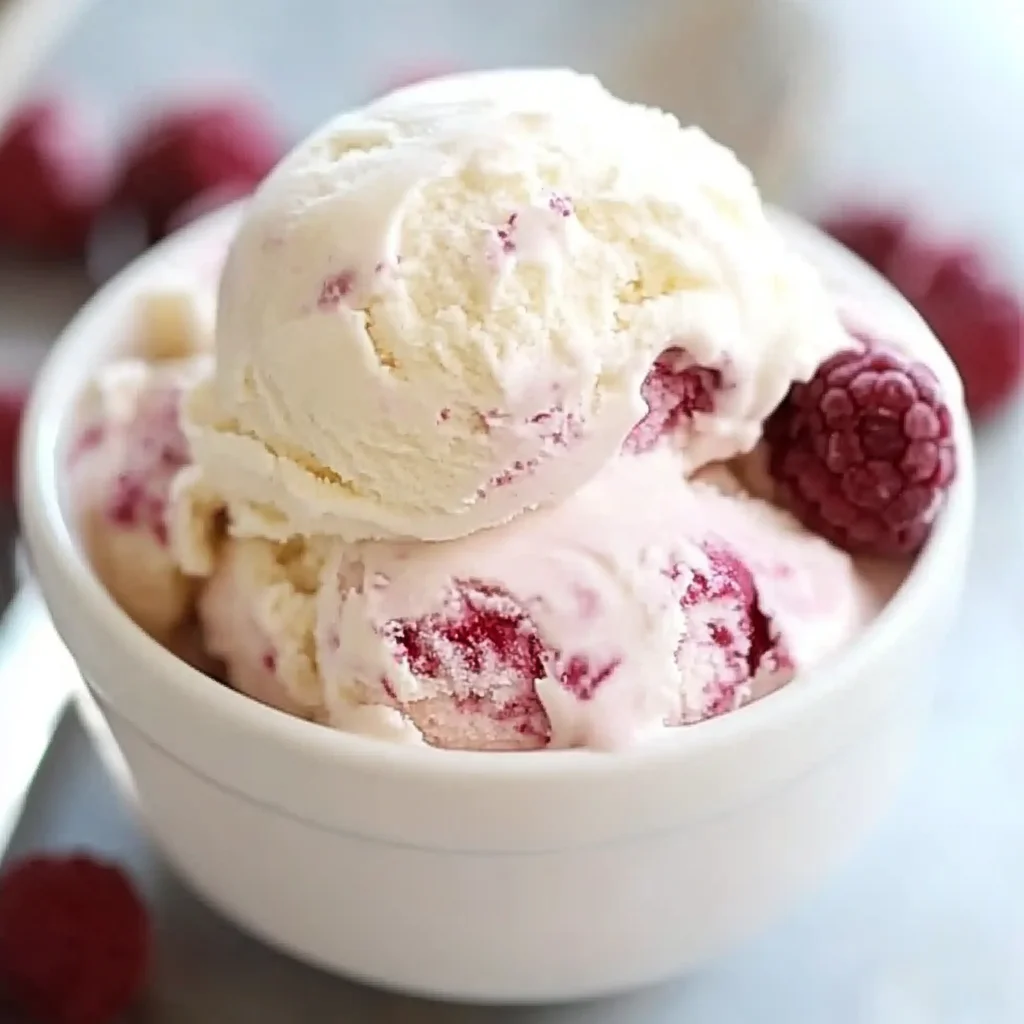
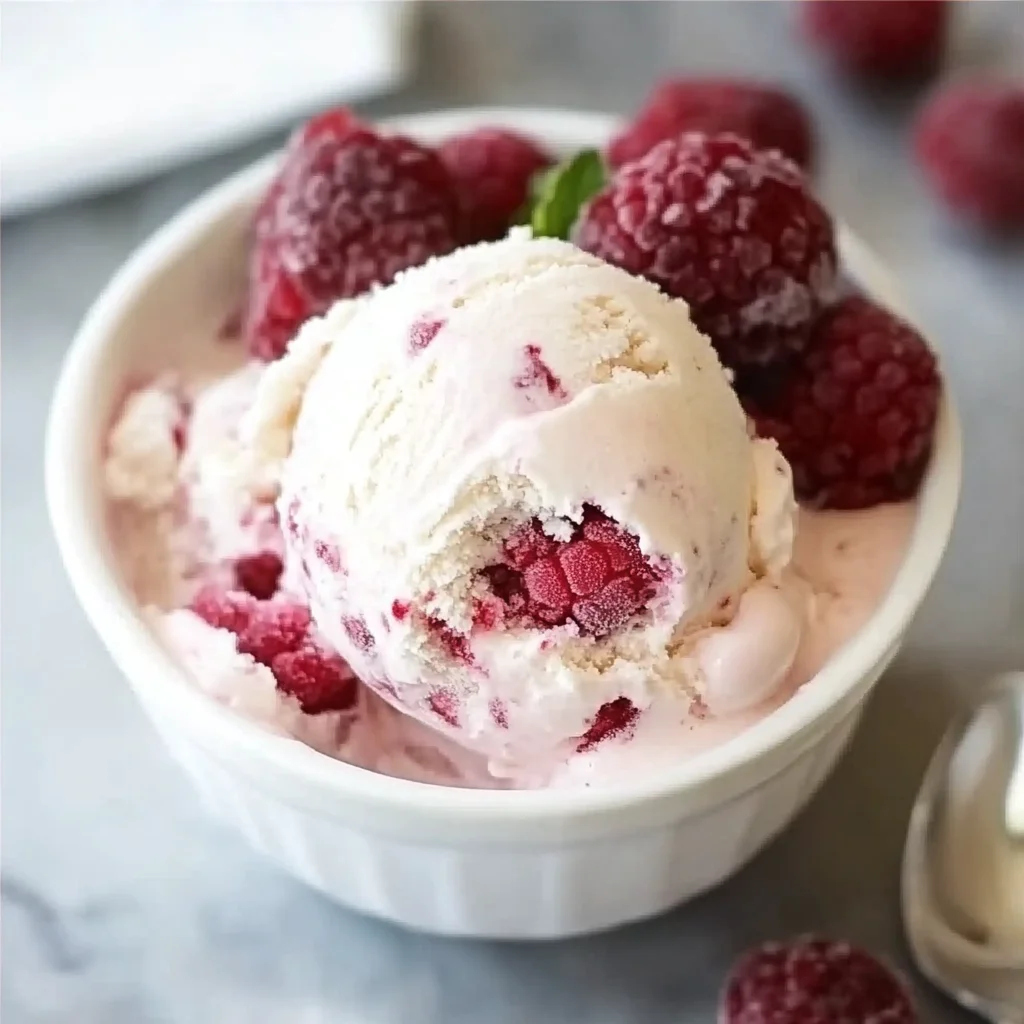
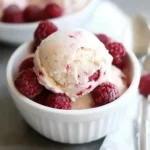
This Homemade Ice Cream Recipe is a delightful treat that’s perfect for any occasion. With just two simple ingredients—frozen berries and heavy whipping cream—you can whip up a delicious dessert in minutes. Whether you’re hosting a summer barbecue or looking for a refreshing snack, this recipe stands out with its creamy texture and vibrant flavors.
Why You’ll Love This Recipe
- Quick and Easy: This recipe requires only 5 minutes of total time, making it perfect for last-minute cravings.
- Customizable Flavors: You can use any frozen fruit you like, allowing for endless flavor combinations.
- Healthier Option: Using fresh fruits means you can enjoy a sweet treat without all the added sugar found in store-bought ice creams.
- No Ice Cream Maker Needed: You don’t need fancy equipment; just a blender or food processor will do the job!
- Perfect for Any Occasion: This homemade ice cream is great for parties, family gatherings, or simply enjoying on a hot day.
Tools and Preparation
Gathering the right tools makes the process smoother and more enjoyable. Here are the essential items you’ll need to create your homemade ice cream.
Essential Tools and Equipment
- Food processor or blender
- Spatula
- Measuring cups and spoons
Importance of Each Tool
- Food processor or blender: These tools blend the ingredients quickly, ensuring your ice cream has a smooth consistency.
- Spatula: A spatula helps to scrape down the sides of the bowl, ensuring every bit of fruit is incorporated into your ice cream.
Ingredients
This 2-ingredient Homemade Ice Cream Recipe features blended frozen berries and heavy whipping cream, creating a rich, delicious, and sweet treat.
For the Ice Cream
- 10 ounces frozen berries (or any other frozen fruit)
- 2 tablespoons granulated sweetener (optional)
- ⅔ cup heavy cream
For Garnish
- 2 tablespoons fresh parsley, finely chopped
How to Make Homemade Ice Cream Recipe
Step 1: Blend the Berries
In your food processor or blender, place the frozen berries along with the sweetener if you choose to use it. Pulse just until the fruit is roughly chopped.
Step 2: Add Heavy Cream
Pour in the heavy cream. Continue processing until everything is well incorporated and smooth. If the mixture seems too thick, add more heavy cream as needed. Use your spatula to scrape down the sides for a consistent texture.
Step 3: Serve or Freeze
You can serve your homemade ice cream immediately for a soft-serve texture. Alternatively, transfer it to an airtight container and freeze for later enjoyment.
How to Serve Homemade Ice Cream Recipe
Serving your Homemade Ice Cream is an opportunity to elevate this delightful treat. Whether you’re enjoying it on a sunny afternoon or at a family gathering, there are many ways to present it that will impress your guests.
Classic Bowl
- Scoop and Serve: Simply scoop the homemade ice cream into bowls for a classic presentation. You can garnish with fresh berries or a drizzle of chocolate sauce for added flair.
Sundae Style
- Layered Delight: Create a sundae by adding layers of homemade ice cream with toppings such as whipped cream, nuts, and cherries. This makes for a fun and interactive dessert.
Ice Cream Sandwiches
- Between Cookies: Use cookies or brownies to create delicious ice cream sandwiches. Just add a scoop between two cookies and enjoy!
Milkshakes
- Blend It Up: Blend the homemade ice cream with milk for a creamy milkshake. Top it with whipped cream and sprinkles for a delightful treat.
Fruit Parfait
- Healthy Twist: Layer the ice cream with yogurt and granola in a glass for a healthy parfait option. This adds texture and flavor to your dessert.
On Pancakes or Waffles
- Breakfast Indulgence: Top your pancakes or waffles with scoops of homemade ice cream instead of syrup for an indulgent breakfast twist.
How to Perfect Homemade Ice Cream Recipe
Creating the perfect Homemade Ice Cream requires attention to detail. Here are some tips to enhance your experience:
- Bold Ingredients: Use high-quality frozen berries for better flavor. Freshness matters when it comes to fruit-based desserts.
- Bold Freezing Method: Freeze your bowl before churning. A cold bowl helps maintain the right consistency while mixing.
- Bold Sweetener Choices: Adjust sweeteners based on your preference. Taste the mixture before freezing to ensure it’s just right.
- Bold Texture Tips: Don’t over-process the mixture. Keep some small chunks of fruit for texture in your final product.
Best Side Dishes for Homemade Ice Cream Recipe
Pairing side dishes with your Homemade Ice Cream can enhance the overall meal experience. Here are some great options that complement this sweet treat beautifully.
- Fresh Berries: A mix of strawberries, blueberries, and raspberries offers a refreshing contrast to the sweetness of ice cream.
- Chocolate Chip Cookies: These classic cookies are perfect alongside homemade ice cream, providing a chewy texture that balances the creamy dessert.
- Brownies: Rich and fudgy brownies pair well with ice cream, creating an indulgent dessert experience.
- Waffle Cones: Serve with crispy waffle cones for an enjoyable crunch that complements the smoothness of your ice cream.
- Pecan Pie: The nutty sweetness of pecan pie serves as an excellent accompaniment, offering different flavors in one meal.
- Fruit Salad: A refreshing fruit salad can cleanse the palate between bites of rich homemade ice cream.
- Mini Cheesecakes: These bite-sized treats provide creamy goodness that pairs nicely with fruity ice creams.
- Coconut Macaroons: Chewy and sweet, these delightful cookies offer another layer of texture alongside your frozen treat.
Common Mistakes to Avoid
Making homemade ice cream can be a delightful experience, but there are some common pitfalls to watch out for.
- Not using frozen fruit: Fresh fruit can lead to a watery texture. Always use frozen berries or other fruits for the best results.
- Skipping the sweetener: If you want a sweeter treat, don’t forget the sweetener. Adjust it based on your taste preferences.
- Overprocessing the mixture: Blending too long can create a thin consistency. Stop as soon as everything is smooth and combined.
- Ignoring serving suggestions: This homemade ice cream is best enjoyed right away. Freezing it for too long can alter its texture.
- Using low-quality cream: The richness of your ice cream relies on heavy cream. Choose high-quality cream for the creamiest results.
Refrigerator Storage
- Store leftover homemade ice cream in an airtight container.
- It can last in the refrigerator for up to 2 days, though it’s best fresh.
Freezing Homemade Ice Cream Recipe
- To freeze, place the ice cream in a freezer-safe container with a tight lid.
- It can be stored in the freezer for up to 2 weeks without losing quality.
Reheating Homemade Ice Cream Recipe
- Oven: Preheat to 200°F and warm the ice cream in an oven-safe dish until slightly softened.
- Microwave: Use short intervals at low power to soften; be careful not to melt it completely.
- Stovetop: Place in a saucepan over low heat, stirring gently until softened.
Frequently Asked Questions
What is the best fruit for this Homemade Ice Cream Recipe?
You can use any frozen fruit, but berries like strawberries and blueberries work particularly well.
Can I make this Homemade Ice Cream without heavy whipping cream?
Yes, you can substitute heavy cream with coconut cream or a non-dairy alternative, but it may change the flavor and texture.
How do I customize my Homemade Ice Cream Recipe?
Feel free to add vanilla extract, chocolate chips, or nuts for extra flavor and texture!
Why does my ice cream turn out icy?
This can happen if there’s too much air incorporated during blending or if it’s stored improperly. Make sure to blend just enough and store it in an airtight container.
Final Thoughts
This 2-ingredient Homemade Ice Cream Recipe is quick, simple, and incredibly versatile. You can customize it with various fruits and add-ins, making it perfect for any occasion. So grab your favorite frozen berries and give this delightful recipe a try!
Homemade Ice Cream Recipe
Indulge in a delightful homemade ice cream experience with this quick and easy recipe that requires just two simple ingredients: frozen berries and heavy whipping cream. This refreshing treat is perfect for any occasion, from summer barbecues to cozy family gatherings. With its rich, creamy texture and vibrant flavors, you’ll satisfy your sweet cravings in no time. Plus, this healthier alternative to store-bought ice cream allows you to control the sweetness while enjoying the natural goodness of fruit. No fancy equipment is needed—just a blender or food processor will do the trick! Get ready to impress your friends and family with this delectable dessert.
- Prep Time: 5 minutes
- Cook Time: None
- Total Time: 0 hours
- Yield: 4 servings 1x
- Category: Dessert
- Method: Blending
- Cuisine: American
Ingredients
- 10 ounces frozen berries (or any frozen fruit)
- 2 tablespoons granulated sweetener (optional)
- ⅔ cup heavy cream
Instructions
- Blend the frozen berries in a food processor or blender until roughly chopped. Add sweetener if desired.
- Pour in the heavy cream and blend until smooth, scraping down the sides as needed for consistency.
- Serve immediately for soft-serve texture or transfer to an airtight container and freeze for a firmer treat.
Nutrition
- Serving Size: 1/2 cup (120g)
- Calories: 210
- Sugar: 6g
- Sodium: 10mg
- Fat: 18g
- Saturated Fat: 11g
- Unsaturated Fat: 7g
- Trans Fat: 0g
- Carbohydrates: 14g
- Fiber: 2g
- Protein: 2g
- Cholesterol: 60mg
Leave a Comment